Here are photos showing what goes into a typical brewing session. They're all from my latest batch, Nuclear Winter Stout.

First, I brewed the starter. This is basically a tiny little batch of beer, in this case, one pint. You make it and then add your yeast to it, so that when you brew the main batch a few days later, you have a large, strong population of yeast ready to attack the malts.

Here is my beautiful brew pot in action. It's twenty quarts, which makes it too small to brew my entire five gallon batch in. So what I do is boil half of the batch to sterilize it, and then set that aside.
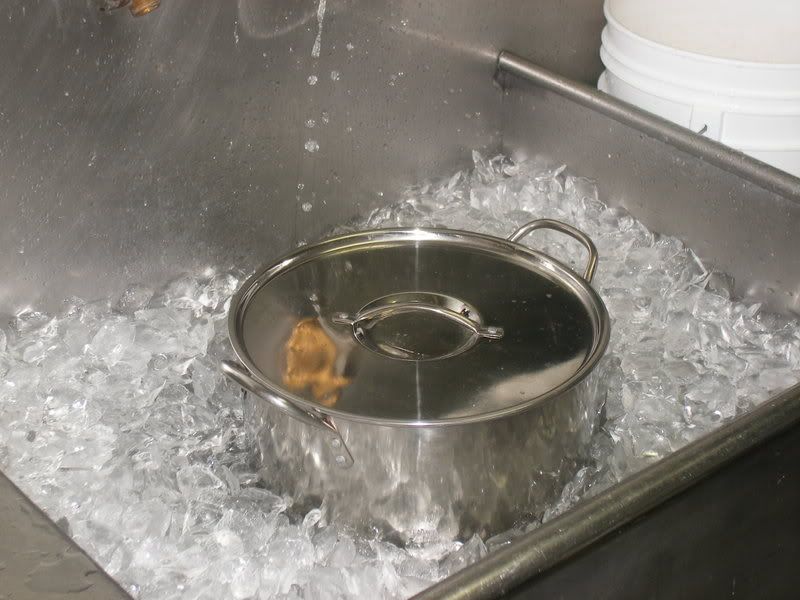
I store the boiled water in my big bottling bucket, but I have to cool it down before I put it in there, otherwise I'd have a big pile of melted plastic. Luckily, I have access to huge sinks and unlimited ice at Boondoggles, so I can cool off my liquids rapidly.

Here's my baby, the six gallon carboy. This is where the magic of fermentation happens. In this picture, I've just finished sanitizing the little guy, and he's waiting for the goodies.

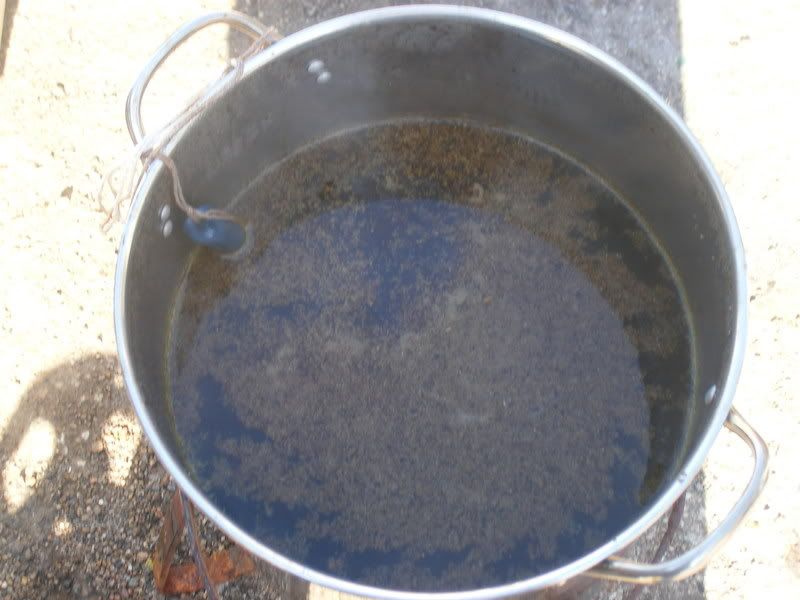
This is the wort, pronounced vort, boiling up in my pot. As you can see, there is a large bag of grain floating in there.

A closer view. The way I do it, you boil some specialty grains, in this case including oatmeal, before adding the malt extract, which gives you the bulk of your fermentable sugars. I didn't anticipate, however, that my bag of grains would swell up quite so large and absorb so much water! It was very difficult to get it out of there, because it weighed like fifteen pounds and was very hot. Luckily, I had someone there to help me out.

These are the hop pellets. Hops give the beer its bitterness, which you want in varying amounts depending on the type of beer you're making. These are Target hops, which are pretty high up on the bitterness scale. This is what we want, since this is going to be a strong stout with a lot of other flavors going on.
This is the wort with the hops floating around in it. You add them at different times, and in different amounts, depending on whether you want to get bitterness from them, the hop flavor itself, or just the hop aroma. The earlier you add them, the more bitterness and less aroma you get, and vice versa. Every time I've brewed, I've done some hops early for bitterness, and some later for aroma. However, I plan on making some pales ales in the future, and I will be experimenting with a more continuous hop addition schedule, which should give a more interesting spectrum of hop flavors.

Here is the finished wort chilling. You want to speed the cooling process as much as possible, because the longer your wort is exposed to air, the greater your chance of infection and funky flavors down the road. Ice bath to the rescue!

Here's my baby with the combined wort and sterilized water. Notice the cloudy brown color. I have not yet added the yeast, as the wort is still probably around 90º, give or take.

This is the carboy about twelve hours after brewing. I added the yeast about eleven hours earlier and went to work, and when I got home, it was bubbling like crazy. The thing on top is an airlock, which lets carbon dioxide out without letting any oxygen or bacteria nasties in. Notice how much darker the liquid is now. Most of the junk has settled to the bottom.
So, that's pretty much it! At this point, I just have to wait a couple weeks, and then bottle the beer up. I've been going eleven days per batch, but I might change things up with this batch. I need to experiment with longer times to see if it makes a difference. Either way, in about six weeks, this should be a tasty beer!
posted by torchiest @ 8:41 AM
0 comments
![]()

